Choose your organ-chip model
Start with your sample, research question and the conditions you want to explore.
Connect microfluidic chips, pumps and culture media to study cells in dynamic environments.
Discuss your application
Start with your sample, research question and the conditions you want to explore.
Bring your chip geometry, flow requirements and available equipment into the discussion.
Check connections, sample preparation and the relevant protocol before running.
Review your data and refine the next experiment with support from the team.
An overview for planning. Use the product-specific protocols for operation.
Product selection depends on your experiment and compatibility requirements.
Find application material, technical guides and support.
Read the published background, setup diagrams and protocols on the original Cellix site.
Organ-on-chip (OOC) or organ-on-a-chip (OOAC) refers to a microfluidic chip which enables the culture of cells mimicking some of the key functions of a living organ. Microfluidic chips can contain microporous membranes to facilitate multi-cellular cultures and connecting microchannels which may be lined with a particular cell type and facilitate the delivery of nutrients, drugs or even model blood flow.
One of the main applications of organ-on-chip is as a predictive tool for drug discovery. Traditional cell-based toxicity assays (i.e. "tissue culture") are problematic in predicting drug toxicity because, very often, cultivated cells do not retain their original organ functions and morphologies when taken out of the context of intra-organ connection and interactions.
For many years, the drug discovery industry has relied on animal testing which is not representative of the true
in vivo
situation. If organ-on-chip systems are capable of providing models that truly mimic a human organ and are commercially available at a reasonable cost, then there is a possibility that they could also eliminate animal testing.
In the last 10 years, the development of different organ-on-chip models has exploded with numerous examples of
lung-on-a-chip, heart-on-a-chip, kidney-on-a-chip
and so on. Cellix provides researchers with microfluidic solutions to get their organ-on-chip model up and running or organ-on-chip kits with microfluidic chips to get you started.
Get a Quote or more information
How does it work?
What do I need to get started?
Applications
Cellix Top Tips
Recommended Products
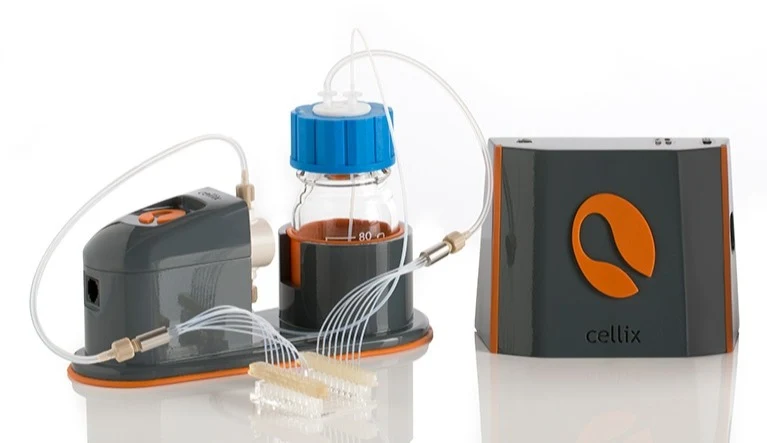
Microfluidic chips are used to culture cells. These chips are connected to microfluidic pumps via cell culture bottles (or other sample reservoirs) and flow sensors to ensure the precise delivery and flow control of culture media and other reagents to the cells in the microfluidic chip.
Organ-on-chip set-up: using 1 channel
1 x 4U Microfluidic pump (connected to vacuum and PC for SmartFlo control)
2 x Culture bottles (1 for culture media and 1 for waste)
1 x Flow Sensor
Microfluidic chip suitable for organ-on-chip studies (VenaT4 or Vena8 Endothelial+)
Tubing & connectors.
The culture bottle from which the culture media is drawn (pulled by vacuum) has one inlet open to CO2 environment in the incubator.
Organ-on-chip set-up: using 4 channels
1 x 4U Microfluidic pump (connected to vacuum and PC for SmartFlo control)
8 x Culture bottles (4 for culture media and 4 for waste)
4 x Flow Sensors
1 x Microfluidic chip suitable for organ-on-chip studies (VenaT4 or Vena8 Endothelial+)
or
4 x organ-on-chips.
Tubing & connectors.
Each of the 4 culture bottles from which the culture media is drawn (pulled by vacuum) has one inlet open to CO2 environment in the incubator.
How does it work?
Example experimental set-ups
We can provide you with a complete set-up (Organ-on-Chip Kit) or just the components you need.
Click here
to see some example experimental set-ups.
In general, as a minimum, you will need the following to execute Organ-on-Chip experiments:
Microfluidic Chip or "Organ-Chip":
These "organ-chips" are designed to mimic the physiological conditions and mechanical forces that cells experience
in vivo. Microchannels of chips can be lined with cells, such as endothelial cells in our
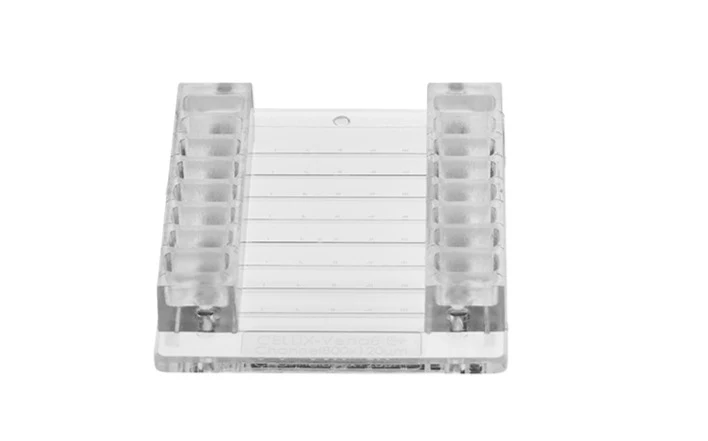
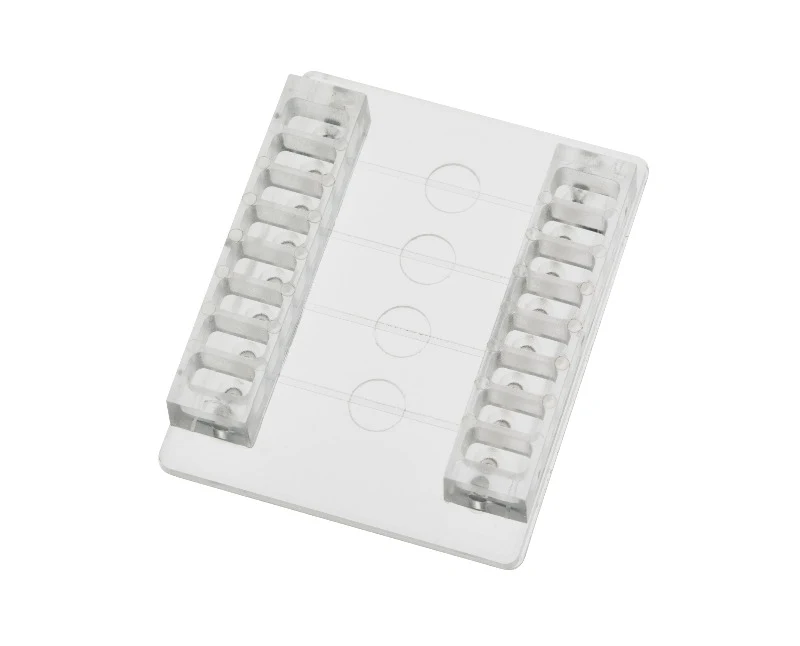
Vena8 Endothelial+ biochip
. Or cells from different organs can be grown in separate chambers, such as the transwell chamber in our
VenaT4 biochip
, where connecting channels enable delivery of media, blood, or cell suspensions facilitating cell adhesion, transmigration and invasion assays under shear flow conditions. Some researchers make their own chips with different geometries: chambers with interconnecting channels that facilitate the
delivery
of both liquids and air, e.g. for lung-on-a-chip models.
Microfluidic pumps:
these provide the delivery of culture media to grow your cells in your chip; that is, culture your organs-on-chip. Microfluidic pressure pumps are a good choice for organ-on-chip experimental set-ups as they can deliver both liquid and air samples, ensuring flexibility if you wish to study or develop lung-on-chip models. We recommend our
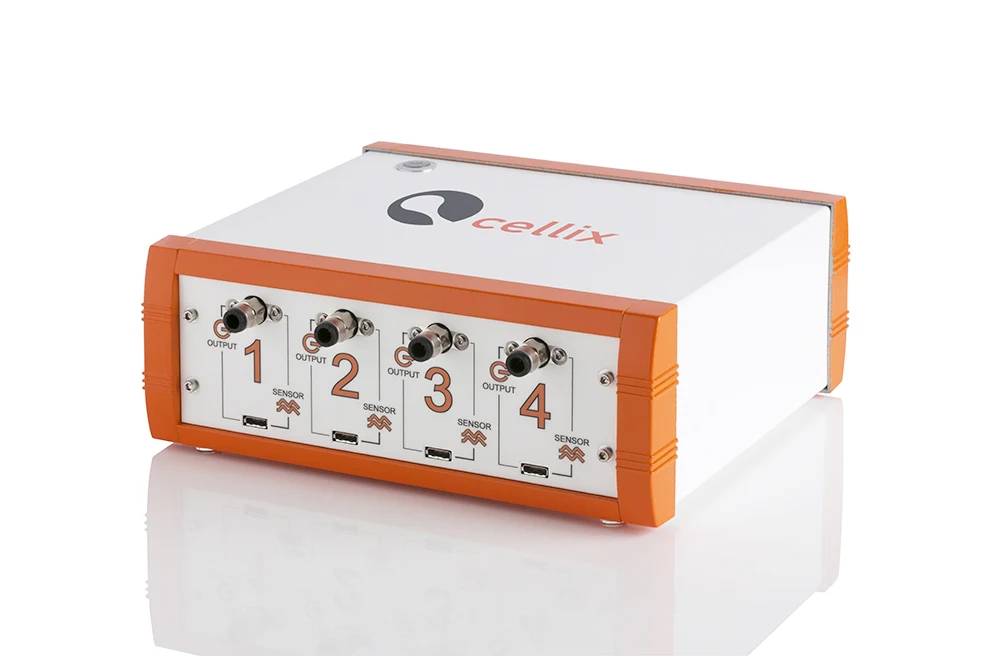
4U Pressure Pump
which enables independent control of 4 different channels, controlling both pressure and flow.
Flow sensors:
required for active feedback of the flow control. If you need to precisely control the flow (not just the pressure), then you need flow sensors. They protect against false readings due to pressure build-up (e.g. from bubbles in your channels).
Flow sensors
will keep your experiments on-track ensuring the precise delivery of correct sample volume the your organ-on-chip.
Sample Reservoir:
this holds the culture media to feed your cells. Once your cells are cultured, reservoirs can be used to deliver drugs (concentration curve experiments), or to flow a cell suspension through your organ-on-chip.
Sample Reservoirs
include:
Cell Culture bottle.
15mL Falcon or Sarstedt tubes.
Eppendorf tubes.
Tubing & connectors.
Organ-on-chip Experimental Set-up:
Connect 4U pump to sample reservoir & flow sensor.
Organ-on-chip Experimental Set-up
4U Pressure pump connected to 8-channel chip via cell culture bottle and flow sensor.
Organ-on-chip Experimental set-up with C
4U Pump connected to vacuum & culture bottle open to CO2 environment.
Organ-on-chip Experimental Set-up
4U Pressure pump connected to single inlet of chip via 15mL sample reservoir and flow sensor.
Organ-on-chip Experimental Set-up
4U Pressure pump connected to 8-channel chip via cell culture bottle and flow sensor.
What do I need to get started?
More predictive drug discovery: disease target identification, drug efficacy and toxicity.
Alternatives to animal testing: organs-on-chips support the 3Rs - "
Reduce, Refine, Replace"
with respect to animal testing.
Development of novel treatment modalities.
Personalised medicine: organs-on-chips tailored to an individual patient.
Disease models: cancer, cardiovascular
diseases
, immunological diseases, skin diseases, neurological, and complex genetic diseases can all be studied with a variety of organ-on-chip models.
Applications
Resolve common challenges with Organ-on-Chip Set-ups
There has been huge progress in the field of organ-on-chip in the last number of years, however there are still some challenges to be overcome. They are broadly divided into two areas:
Biological
and
Technical
. Biological challenges include sourcing induced pluripotent stem cells (iPSCs), appropriate organ scaling, vascularisation of tissues and inclusion of immune components. Here, we will focus on the
technical challenges
and what Cellix can do to help resolve some of the issues you may experience with organ-on-chip set-ups.
1. Plug & Play Tubing
with
Connectors for ease-of-use & to maintain sterility
Despite advances in microfluidics, joining the macro world to the micro-world is still not easy.
This is mainly because most organ-on-chip systems are connected to external pumps via tubing and connections with multiple connection points which can be cumbersome to connect and are often a source of contamination due to disconnecting and reconnecting.
Cellix's top tips:
Always wear gloves when assembling and connecting tubing and connectors.
Avoid multiple connection points - this will reduce potential contamination points.
Use
autoclaveable tubing and connectors.
Cellix recommends
Kima Tubing Kit
autoclaveable 8-way connections or our single-inlet
assembled tubing with connectors
Cellix's
Kima Tubing Kit
is a reusable,
autoclaveable
8-way connection from your microfulidic pump to your chip and from your chip to waste. The spacing between the pins is 4.5mm (SBS standard distance between wells on a 384 well-plate) so it may be easily integrated with SBS standards including robotics. The 8-way outlet tubing with connectors enables easy collection of culture media thereby reducing manual pipetting and handling - a source of potential contamination.
8-channel chip connection to Vena8 Endothelial+ biochip
Plug-and-play connection with 26 gauge sterile needle pins
Kima 8-channel Tubing Kit
Plug-and-play connection with 26 gauge sterile needle pins
Single Inlet Tubing connection to biochip
Plug-and-play connection with 26 gauge sterile needle pins
8-channel chip connection to Vena8 Endothelial+ biochip
Plug-and-play connection with 26 gauge sterile needle pins
Cellix also has single inlet/outlet
tubing assembled with connectors
to facilitate direct connection to one inlet/outlet of an organ-on-chip system. These tubings and connectors are also
autoclaveable
and plug-and-play for easy connection with no dead volume. .
voiding bubbles:
avoiding bubbles is still a problem. If they are large and move (travelling through the tube into your organ-on-chip), they
can potentially ruin an entire experiment. They can push out cells that have seeded and are culturing in your chip, washing away your entire experiment.
Cellix's top tip:
Prime (or 'wet') the tubing and inlet pin/connection before connecting to your chip:
Bubbles are usually introduced into the chip at the start of the experiment and can potentially ruin an entire experiment. To avoid bubbles, using your microfluidic pump, pump your liquid (e.g culture media) through the tubing from the sample reservoir (e.g. cell culture bottle) ensuring until you see a droplet on the outlet pin of your tubing. This ensures that all the air is pushed out of your tubing and your fluidic path to your chip is "primed". You should also visually check the tubing to ensure there are no bubbles collected inside.
Priming tubing before connection to organ-on-chip:
Ensure droplets have formed at
the
pins
3. Flow rate differences between platforms:
Flow control is a crucial element of organ-on-chip experimental set-ups and most organ-on-chips connect to external microfluidic pumps. Pressure pumps, such as Cellix's
or
UniGo
pumps, are a popular choice for organ-on-chip systems as they can facilitate long-term cell culture in microfluidic chips via connection to a large cell culture bottle and they have the flexibility of pumping both liquid and air samples. However, pressure pumps alone will only read the pressure within the organ-on-chip system. So if a microchannel in your organ-on-chip becomes blocked, the
resistance changes
, and the flow rate will be reduced (or increased if a seal is broken and there is a leak). This means the flow rate and sample volume will be incorrect!
Flow sensors ensure accurate delivery of the correct sample volume.
Cellix's top tip:
Use a flow sensor!
To ensure precise flow control, connect your pressure pump to a flow sensor and keep the distance between the flow sensor and your organ-on-chip as short as possible. This ensures that the active feedback measured by the flow sensor is measuring exactly what's happening at the chip level - always delivering the correct flow rate and sample volume. Flow sensors are calibrated by liquid type (e.g. aqueous flow sensor for culture media) and flow range.
4. Different flow rates required by different organ systems:
Like the organs they represent, different organ-on-chip systems have different flow rate requirements. This becomes trickier for models that integrate different organ-on-chip systems, e.g. integration of a lung-on-a-chip system with a heart-on-a-chip system. To model these systems, researchers require pumps that have in
dependent channel control.
Cellix's top tip:
Use 4U (4-channel) pump with flow sensors:
Cellix's
4U pump
can simultaneously and independently control 4-channels giving the user great flexibility.
4U (4-channel) Pressure Pump
5. Drug adsorption and binding to PDMS microfluidic chips:
PDMS is still the material of choice for many researchers to explore their different models. However, the surface of PDMS is highly hydrophobic, binding many of the drugs and compounds that are introduced into your organ-on-chip system. This can lead to incorrect results for example, for drug concentration curves for your organ-on-chip.
Cellix's top tips:
Coat with BSA:
this will block all non-specific binding sites.
Plasma-treat your chip:
usually only lasts a short time but should be long enough for your experiment.
Coat with inert polymer.
Cellix Top Tips
4U Pressure Pump
UniGo Pressure Pump
Flow
Sensors
VenaT4 Biochip
Recommended Products
Get a Quote or more information
Tell us what you’re exploring. We’ll help you find your flow.